User documentation
This is the user documentation of Musicly. Its aim is to provide a comprehensive explanation of how Musicly works. If you just want a quick introduction, take a look at Musicly’s tutorial (Settings > Tutorial).
Table of contents
The basics
Adding music
The easiest way to add music to Musicly is by dragging and dropping music files or folders onto the app. You can also add music by clicking on the plus button on the top left corner of the app or through the button at the end of your library.
Navigating
Navigation in the app is done mainly through the control buttons on the top left corner of the app. Quite obviously, the cog will take you to the settings and the plus sign allows you to add music to your library.

A couple of navigation shortcuts are set up: ctrl+s or s for settings, ctrl+o or o for adding music and escape or alt+arrowleft for going back.
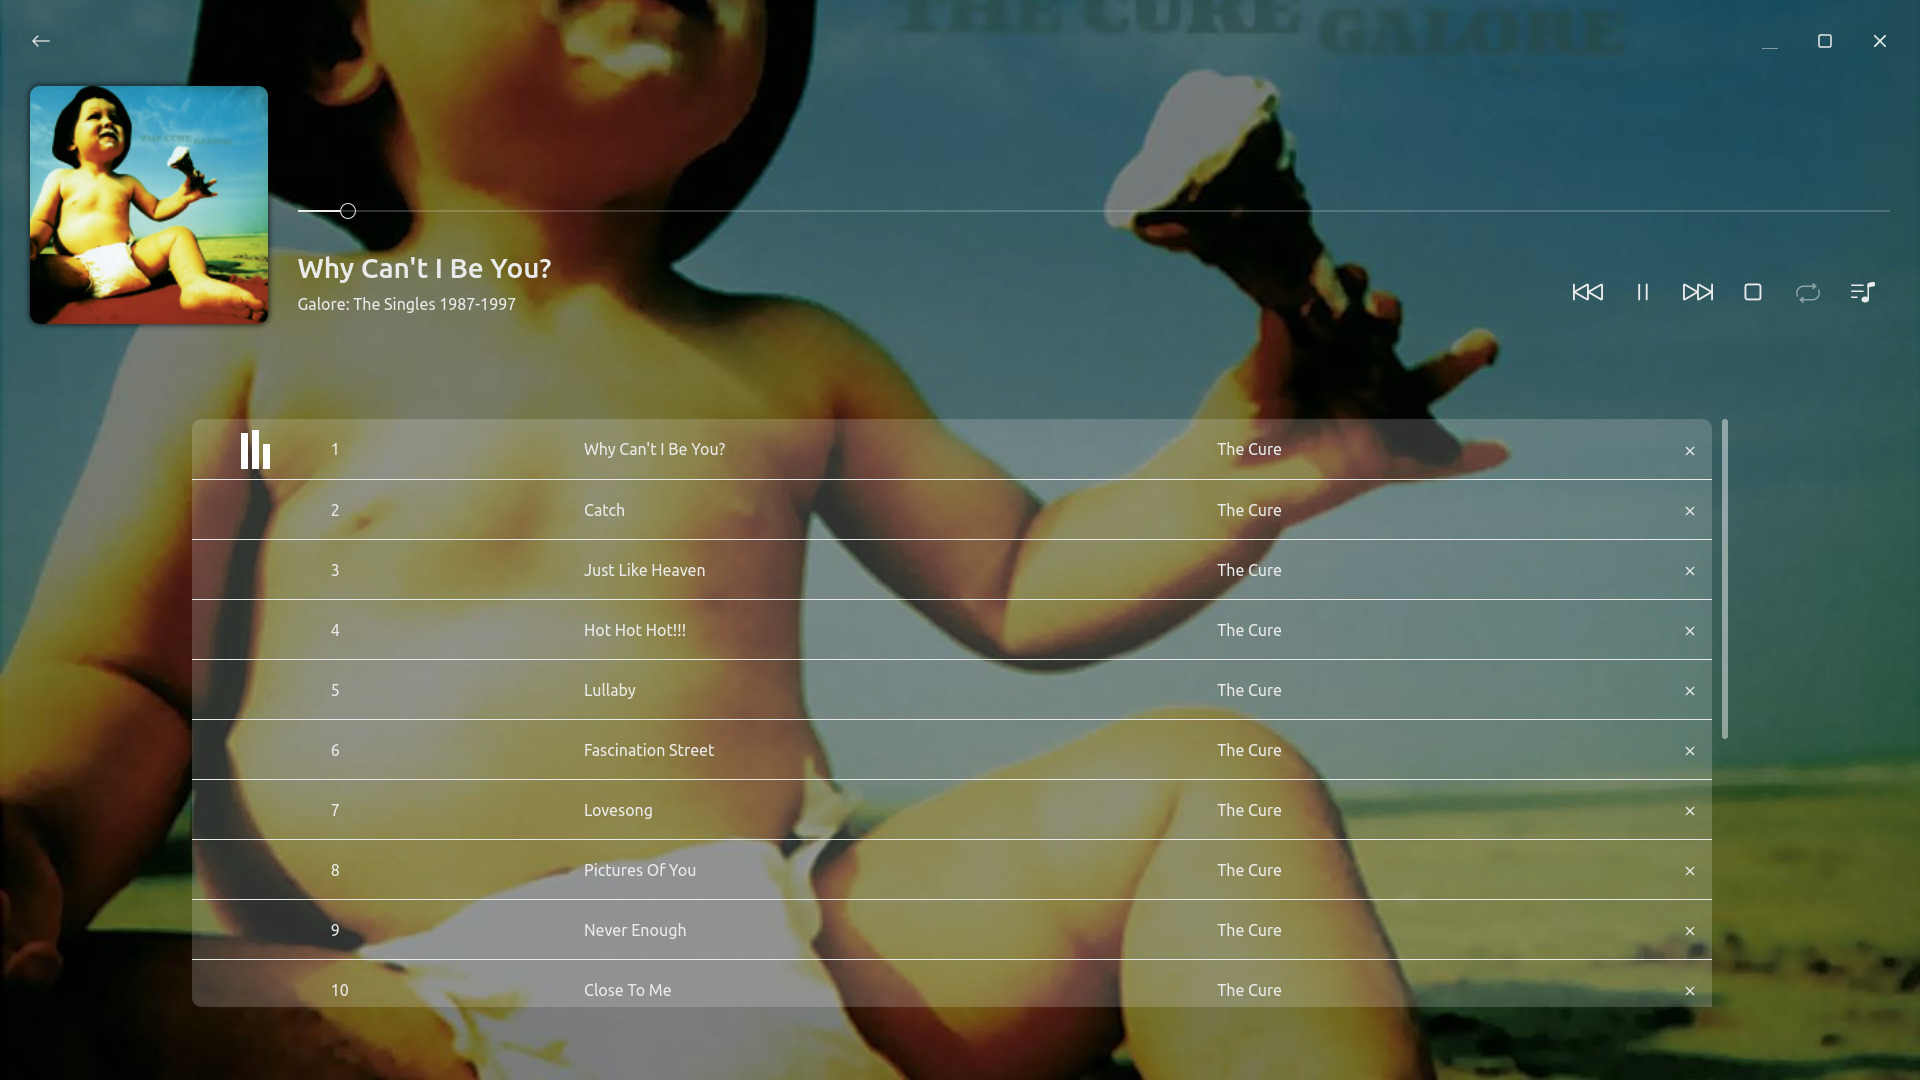
The Queue
The queue is where the songs are stored. You can access it through the music note button at the bottom right corner of the app. Once you are there, you can reorder tracks and delete them from the queue.
Throughout the app, you’ll find the options to Play, Add next and Add to queue.
Play: The queue is substituted by the new tracks.Play next: The new tracks are added to the queue after the current one.Add to queue: The new tracks are added to the end of the queue.
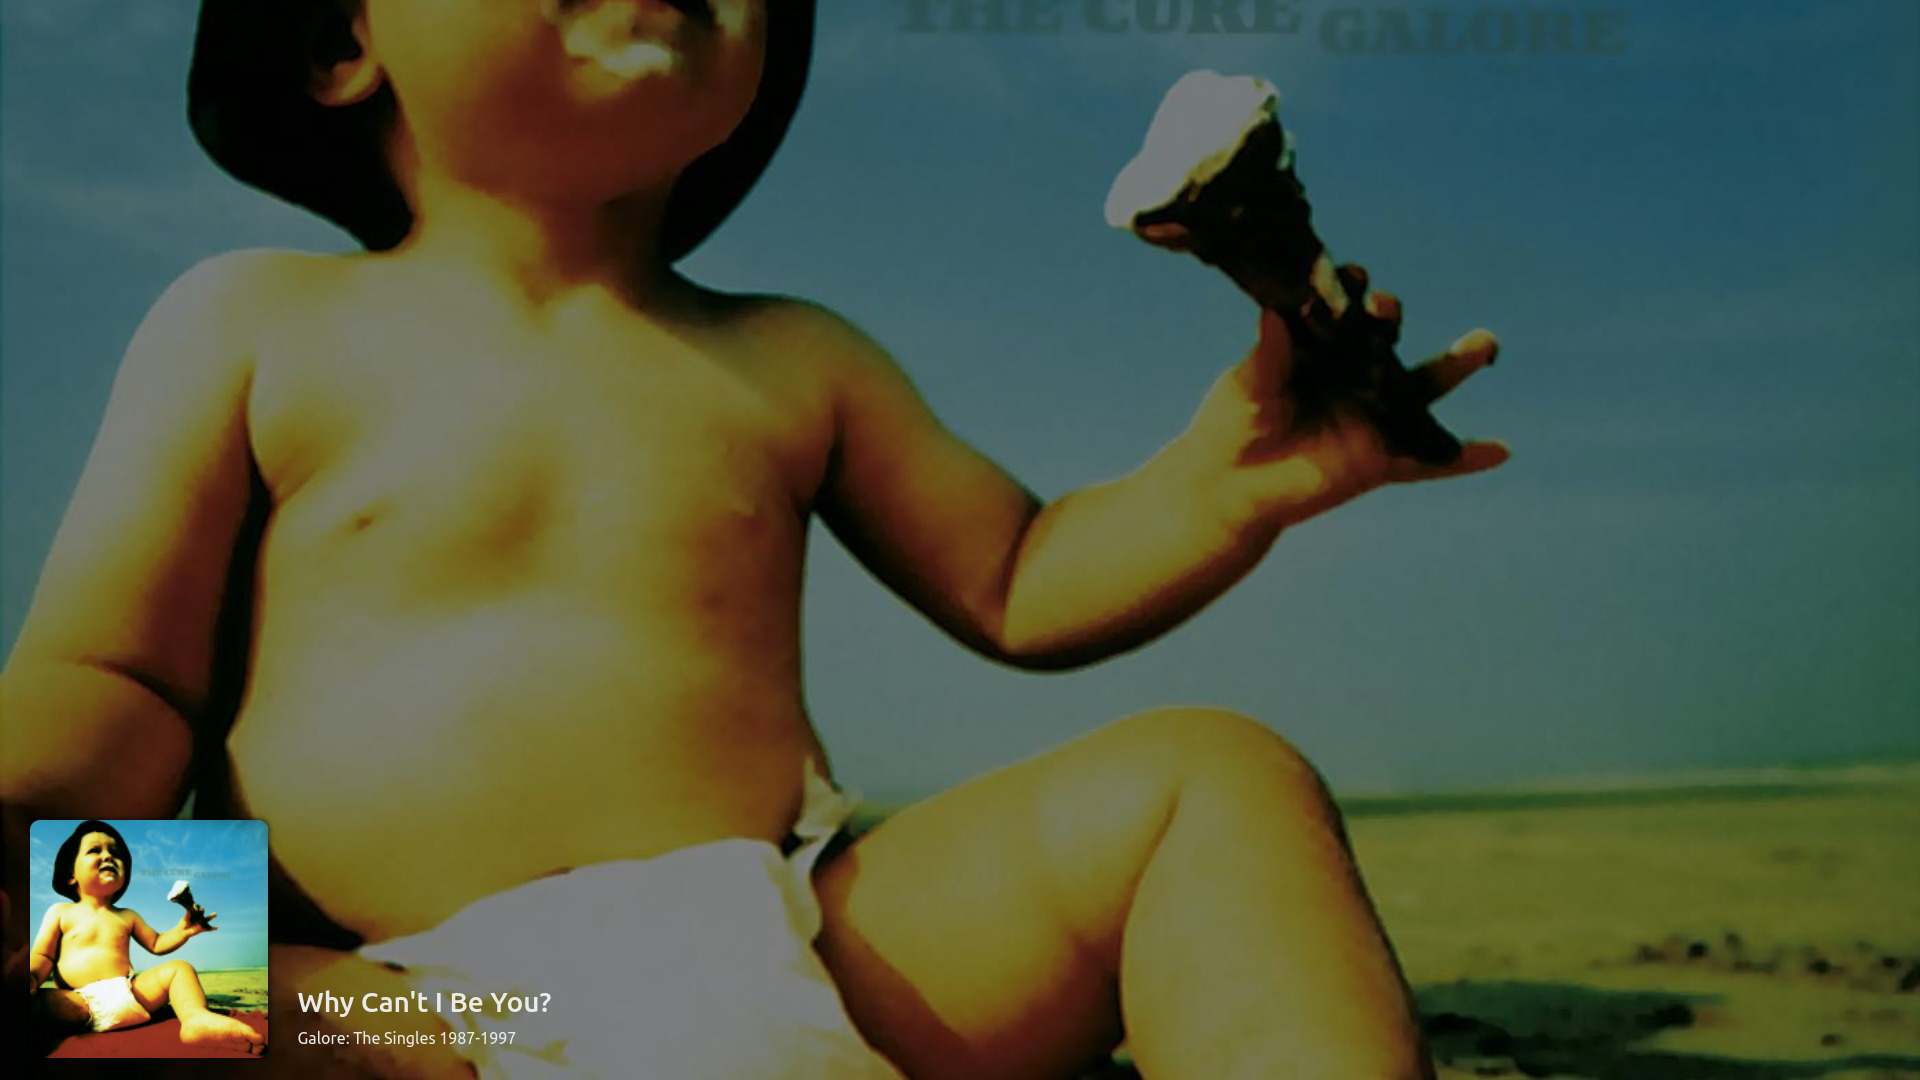
If you make no movement for 6 seconds, the queue will hide itself, entering inactivity mode.


Searching
If you ever get lost in your huge library :), you can use the search box. Besides allowing you to search for album title, track, artist and composer, genres are suggested as you type. Click on them to display only the albums that match the genre.

The shortcut for searching is ctrl+f.
Mini-player mode
Clicking on the minimize window will reduce Musicly to a small window, which will always stay on top. This behavior can be changed at any time in the settings. You can also change its size.

Control Area
Here music playback can be controlled. You can pause, play, stop, skip, view the queue and seek (move 5 seconds forward or backward) the currently playing track. The circling arrows are used to toggle between the different repeat options: none, one time and forever.

The shortcuts defined here are: space for pausing and playing, arrowleft for seeking backward, arrowright for seeking forward and ctrl+q or q for accessing the queue. Your keyboard’s media control keys will also work with the control area.
Album Details
To know more about an album, click the list button on the cover. You can edit most important metadata on albums and tracks - I’m planning to add some more thorough control later. Changes will be saved to the music files themselves if they are in mp3 format.

Settings
Here you can change some of the app’s behaviors:
Theme: Light or dark.Zoom: The size of the app’s elements.Inactivity time: The time it takes for the app to enter inactivity mode.Minimize button triggers mini-player mode: Whether the miniplayer will be triggered by clicking on the minimize button or not.Mini-player size: The size of the mini-player.Custom CSS: Add your own styles to the app (more on that further down).
Finally, you can also reset the app’s settings, delete the library and access the tutorial.

Custom Styling
You can add your custom styles to the app, using CSS. Advanced users may use the console to inspect the different elements and selectors (ctrl+shift+i).
While styling your app, please remember to set the theme setting to whatever fits your styles best, because some components rely on theme information different than the style sheet.
Examples
Background color
#app.theme-light, #app.theme-dark {
    /* keywords, rgb and hex are supported */
    --bg-color: red;
    --bg-color: rgb(255, 0, 0);
    --bg-color: #ff0000;

    /* It is best to change non-opace background colors too,
    used in other app parts */
    --bg-color-05: rgba(255, 0, 0, 0.5);
    --bg-color-02: rgba(255, 0, 0, 0.5);
}
Text color
#app.theme-light, #app.theme-dark {
    --color: red;
    --color-08: rgba(255, 0, 0, 0.8);
    --color-05: rgba(255, 0, 0, 0.5);
    --color-02: rgba(255, 0, 0, 0.2);
}
Search box border
In the original version of Musicly, the search box had no border. I later realized that this would not help new app users, and therefore put it back. However, I still think that it looks better without border. You can achieve that with the following code:
#search-container {
    border: none;
}
#search-container:hover {
    border: none;
}
Control Button
Old versions of Musicly had a control button on the top left corner of the app. For user friendliness, it became permanently unfolded. However, you can restore it with the following code (which should be pasted on the css box in the settings):
#control-button-container {
    width: 55px;
    border-radius: var(--border-radius);
    transition: var(--transition);
    overflow: hidden;
    background-color: rgba(0,0,0,0.1);
}
#control-button-container:hover {
    width: var(--container-width);
}
#logo-container .button {
    background-color: transparent;
    cursor: auto;
}
Border radius
Border radius sets how round the app’s elements will be.
#app.theme-light, #app.theme-dark {
    /* Default value */
    --border-radius: 10px;
    /* This will cause all elements to be round */
    --border-radius: 50%;
}
Button hover color
#app.theme-light, #app.theme-dark {
    --button-hover-bg: rgb(255, 255, 255);
}
Complete example
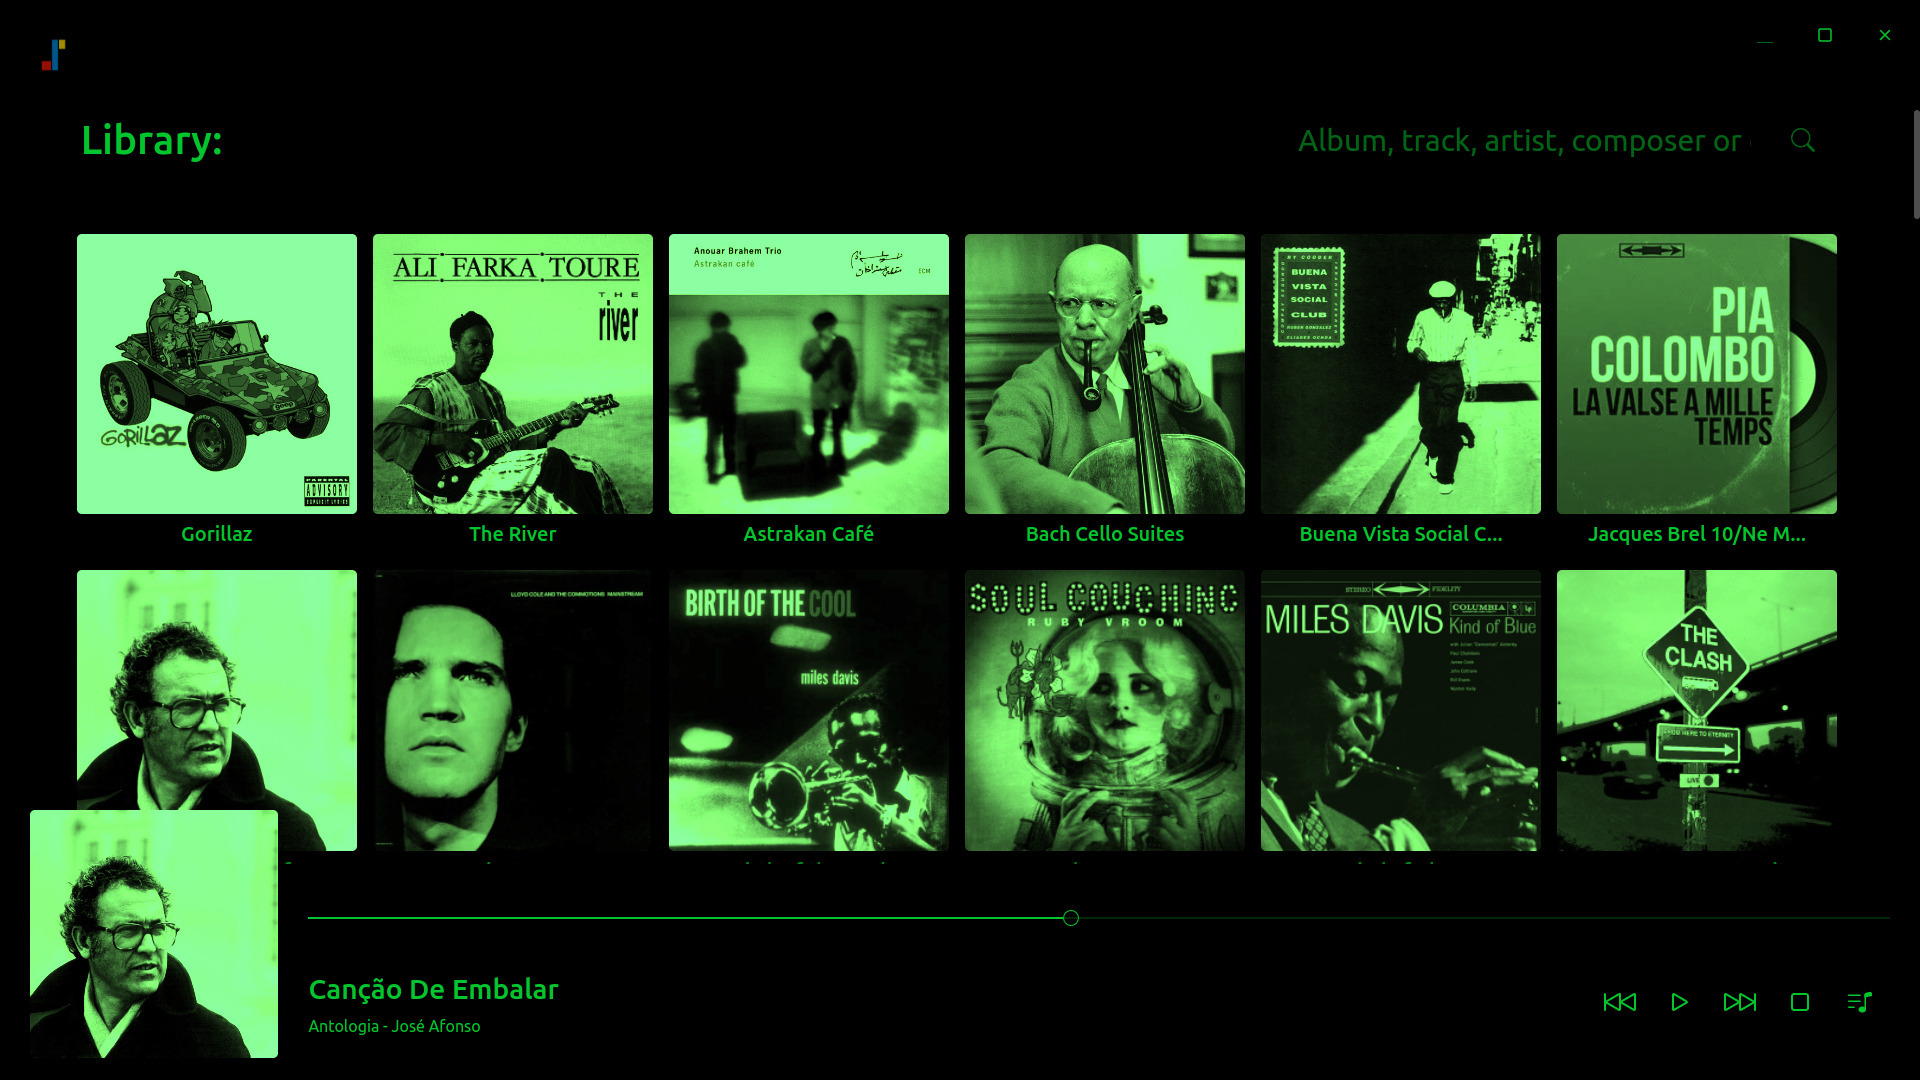
The following code implements a (rather horrible!) monochrome theme - image below.
#app.theme-light, #app.theme-dark {
    --bg-color: black;
    --bg-color-05: rgba(0, 0, 0, 0.5);
    --bg-color-02: rgba(0, 0, 0, 0.2);

    --color: rgb(33, 180, 33);
    --color-08: rgba(33, 180, 33, 0.8);
    --color-05: rgba(33, 180, 33, 0.5);
    --color-02: rgba(33, 180, 33, 0.2);

    --border-radius: 5px;

    --button-hover-bg-color: rgba(33, 180, 33, 0.2);
}

.cover, #queue {
    /* Turn all images green */
    filter: grayscale(100%) brightness(80%) sepia(300%) hue-rotate(50deg) saturate(200%);
}

Issues & Bugs
If you find an error with the app or with this web page, you can file an issue here or send an email to luiswbarbosa@gmail.com. I’ll be glad to address it!